Saturday, May 10, 2008

Disassembling a Webley Hurricane

I took apart the Hurricane Derrick sent me. I followed the disassembly and reassembly instructions in the manual. I wish every airgun came with as good instructions. I couldn't find a copy online, and there isn't one up on Webley's website, but they may be able to help if you contact them. They do say they "plan" to have historic manuals up at some point...

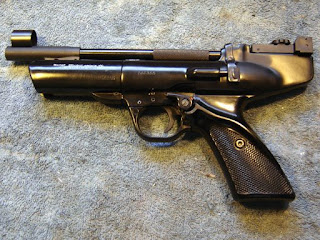
The Hurricane.

The other side...
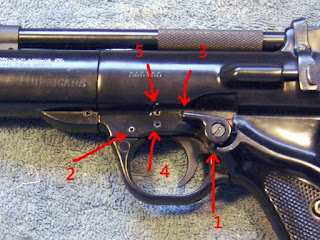
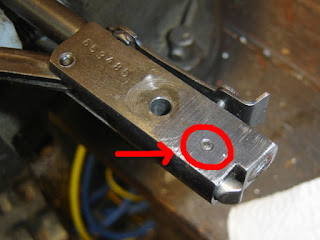
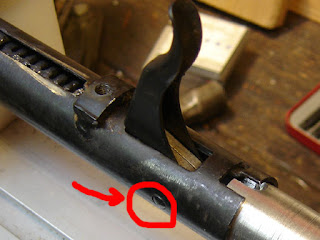
These five roll pins are removed with parts in this order.
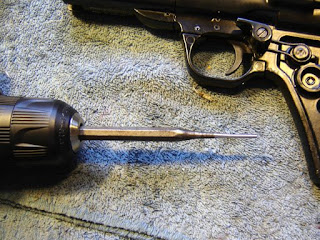
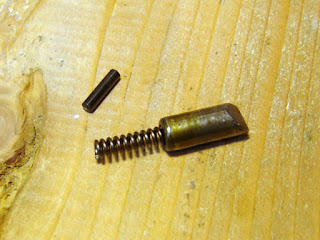
A spare pin pinch was "precision ground" down by spinning in a drill against the belt grinder. The diameter should be .089" (2.25mm) diameter.
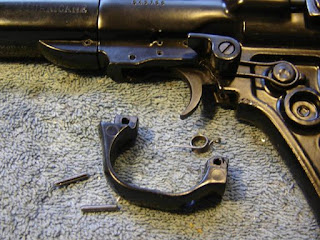
Pins 1 and 2 removed, the trigger guard and sear spring.
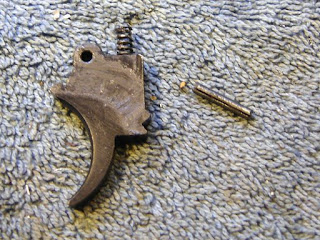
Pin #3, and the trigger comes out.
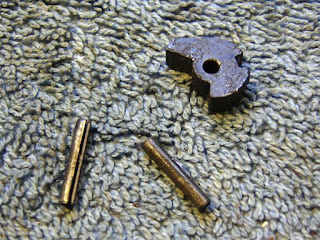
Pins 4 , then 5 and the sear comes out.
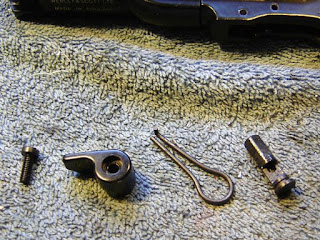
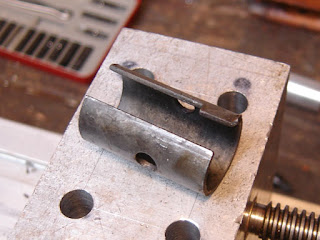
The safety is removed.
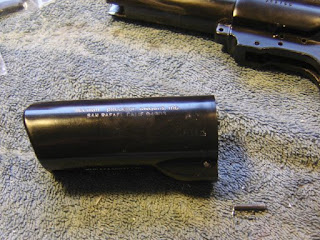
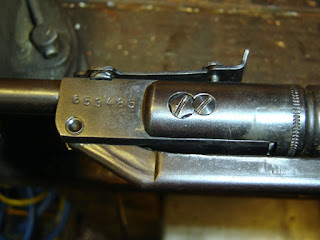
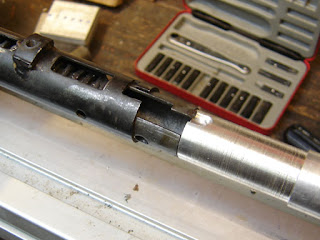
Then another pin to remove the front shroud.
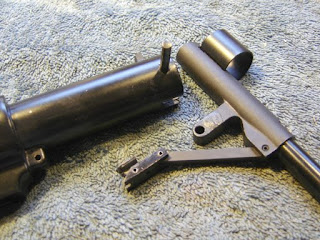
The pivot pin is tapped out just enough to remove the barrel linkage, but still retain the spring guide.
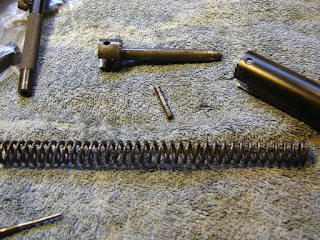
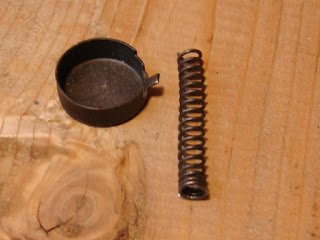
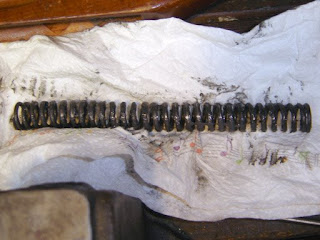
Then fully removed to allow the spring and guide to come out. It will shoot forward a bit so it's best to have it pushing against something so to control the release of the spring.
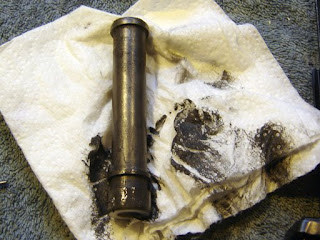
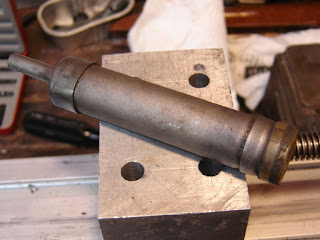
The piston was persuaded out. I had a little lube on it.
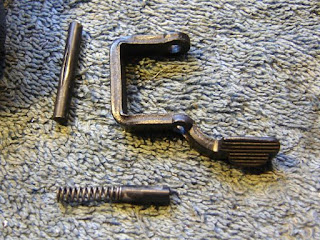
Then the barrel latch pin was pushed out.
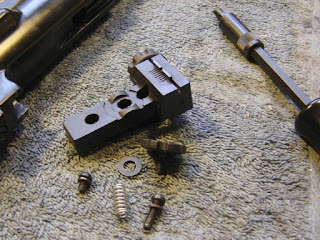
The sight was removed by unscrewing the elevation screw, then removing the two screws that attach it to the pistol.
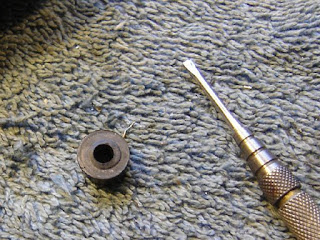
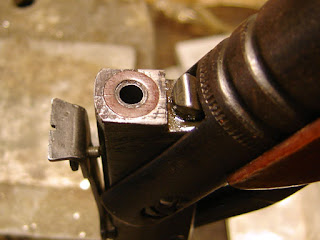
The rubber breech seal was pried out with a small screwdriver. It had been mounted backwards, not that it probably makes much of a difference.
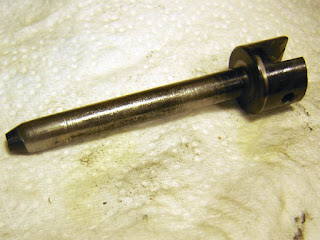
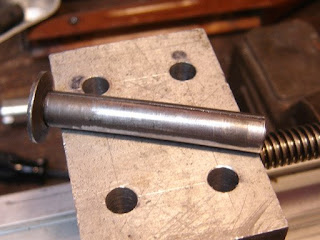
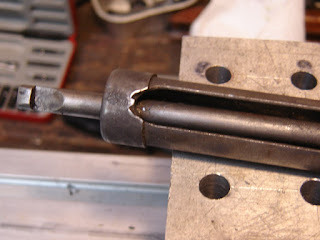
The spring guide seemed a bit rough.
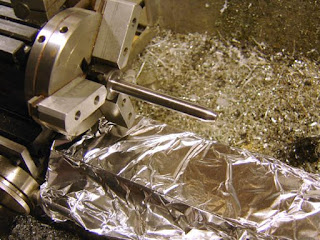
So I spun it in the lathe and lightly sanded it to polish.
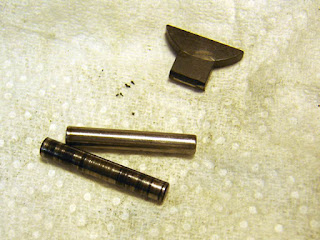
The pivot pin seemed worn so I found a dowel pin of the same diameter and turned it to length (carbide tooling...)

The gun assembles almost in reverse of the dismantling. Pretty easy. I just lightly lubed that which needed lubing and took out a few burrs on the cocking slot.
The gun chronied almost exactly the same as before disassembly, but seemed a bit smoother...
a bit...it is a Hurricane after all.
Thursday, May 8, 2008

New Seals For the Slavia 618, Part 2

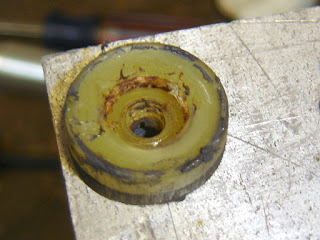
With the Slavia disassembled, I took some measurements and tried my hand at making a piston seal. Those of you who read the blog know of my failures making a seal out of both Delrin and Teflon for the Predom Lucznik, this time I decided to try using some 80 durometer urethane rubber. 80 durometer is a little soft, I suspect, for a piston seal, but it's what I had on hand for my hydraulic die forming. I used a hole saw with the pilot removed to cut a plug from some sheet that was about 5/8" thick.

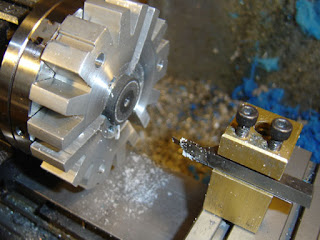
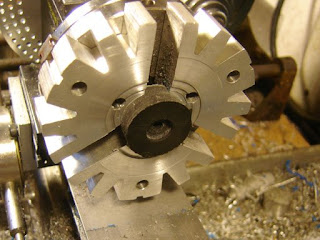
I chucked the plug up, drilled a hole through, then bored the recess.

I found this internal grooving tool in my drawer of misc. toolbits.

And I made the recess. The rubber didn't cut particularly well, but it did cut. If I had had some dry ice on hand I probably would have frozen the rubber first to make it easier to machine. But I didn't.

Hey, it snapped right on!

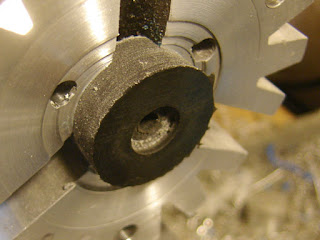
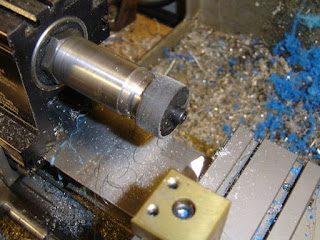
I mounted the plug on a mandrel and turned down the OD, finishing the last few thousandths with some 180 grit sandpaper.

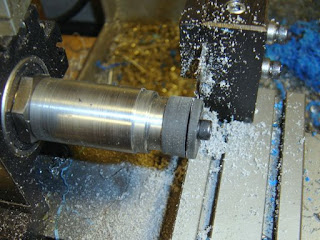
I then parted it off to length.

I put the face groove in with an extremely sharp little tool I keep working on...

I then put the detent back in the barrel, and reassembled in reverse order. I lightly oiled the breech seal, which was somewhat rough.

I test fired the rifle. Before doing all the work it was shooting Crosman Premier Light pellets (7.9 grain) at 360 fps, although it was not a thorough test (I only shot a few through). After all this work it was spitting them out at an average of 312 fps. Not so good. I noticed that there was a light spray of oil on top of the breech. That hints at the fact that the breech seal may not be in the best shape.

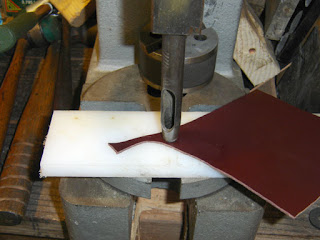
So I found some leather and cut the OD for a new breech seal.

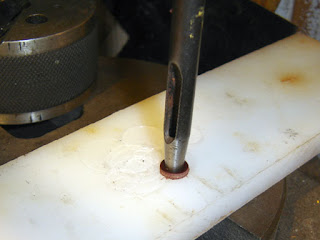
Then I carefully lined up a smaller punch for the OD. Then I made another one because the hole on the first one was off center.

I trimmed all the fuzz out of the center with an xacto knife.

The new seal in place, and oiled. I tested the rifle again and it was now shooting the CPL's at 394 fps. I was able to wring out better performance! Yay me!


I think I'll look for more Slavia airguns in the future. I have a 624 that was in very rough shape which I let the kids shoot, and the 631 I bought years ago at the flea market.

New Seals For the Slavia 618, Part 1

I bought a Slavia 618 off of Gunbroker in February, for $39.90 shipped. It was listed as a "gunsmith special" because the seller said "looks good and complete but has no tension, looks like the linkage is not connected inside.". When I received the rifle I found that I only had to connect the cocking linkage and replace the trigger spring for it to function. The piston slot was rough and the gun barely spit a pellet out, so I put it on my to-do list of airguns to work on. Slavia is the brand name of airguns made by the venerable firearms manufacturer CZ, they are well made air rifles and a good bargain. The 618 is likely 30 years old, give or take.

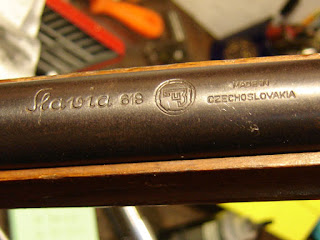
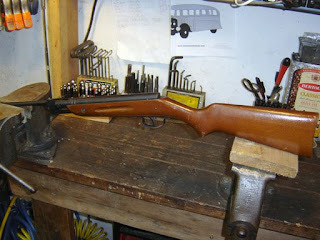
The 618.

Three screws remove the action from the stock.

The trigger spring is a replacement I came up with, just a bit larger than what was stock.

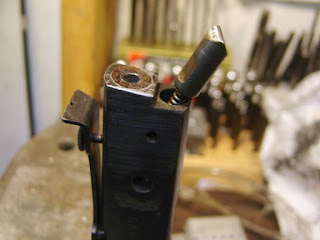
To remove the locking detent I punched this pin out. Make sure you have something to catch the chisel detent...it will fly out.

I was having problems with lockup, so I figured I would remove the chisel detent and clean it.

To remove the barrel/linkage I removed the pivot lock screw and pivot screw.

To remove the trigger I pushed out this pin.

The trigger/sear is a simple affair.

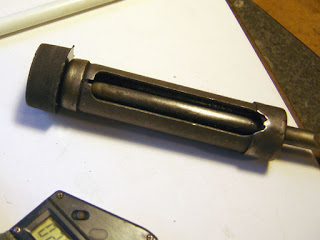
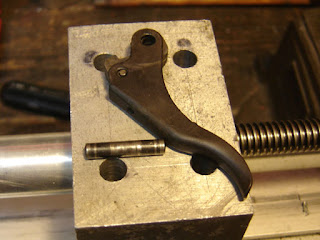
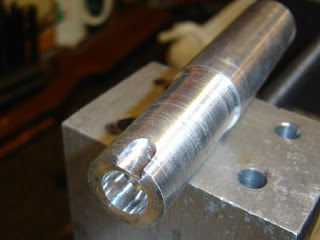
This is my special Slavia tool. It's a bit of aluminum rod turned down to fit just inside the tube, with a notch to turn and clear the bayonet style catch for the spring.

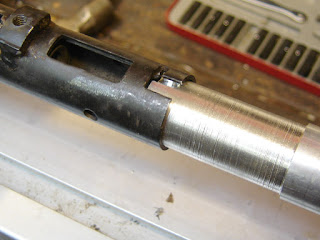
With the spring compressor I inserted the tool.

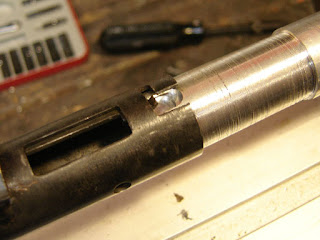
Then turned the tool (there wasn't much pressure)so the catch would clear the slot.

This allows the "trigger housing"to slide out as I backed off the spring compressor screw, followed by the spring guide, spring and piston.

The trigger housing...

The spring guide. I almost thought I should turn up a new one, but decided to leave it stock.

The spring. I had previously lubed it when I first received the rifle.

The piston. I had wire brushed it.

The cocking slot was deburred, it was worn perhaps 1/32" from what it was new.

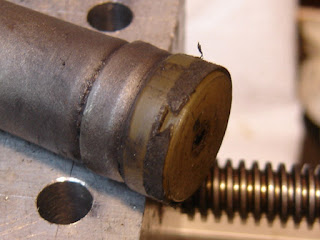
The piston seal was definitely in rough shape.

Chewed up and ugly, it snaps off the piston.


The piston end where the seal snaps on. This was also cleaned up a bit on the wire wheel afterwards.