Friday, June 6, 2008

Hy-Score/Hammerli Air Rifle Part 1

I finally got around to disassembling and lubing the Hy-Score Air Rifle I traded for a while back.

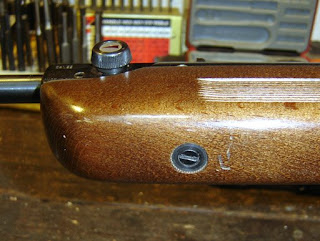
One screw is removed from the front of the stock.
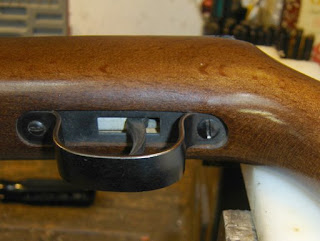
And the rear trigger guard screw is removed.
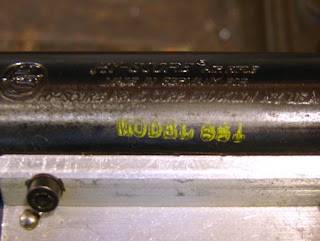
This is where identification of the air rifle gets a bit murky. Printed in yellow ink is "Model 8?1" Not sure if it's a three or a five or what.
The Blue Book of Airguns lists the following Hy-Score model numbers for Hammerli made rifles:
Hy-Score 821, 833SM, 894 - sidelever rifle made by Hammerli of Germany
Hy-Score 833 - Hammerli Model 10 (Puma Model 497)
Hy-Score 894 or 894 Sport - Hammerli Model 4 (Puma Model 490)
However in looking at the section on Hammerli rifles none are listed in .22 caliber.

Since the rifle does not have anti-beartrap provision (but more on that later), it is likely to be a 490 series of Puma, rather than a 400.

Likewise Walter's "The Airgun Book" does not list a Hammerli in .22
It lists the Hy-Score 821 as being equivalent to a Hammerli Model 2 (Puma 495)

But that middle digit doesn't look like a "2" to me. I'm just going to live with the mystery.
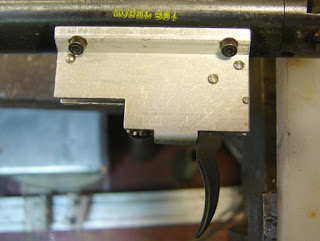
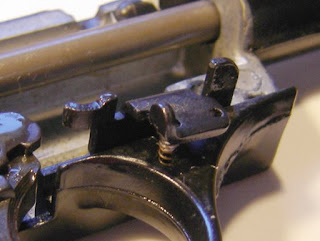
Another mystery, the trigger unit looks either like a home made replacement housing (a well made replacement) or a prototype.
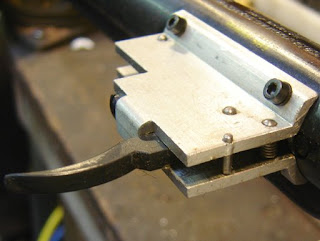
The dowel pin holding the trigger spring was drilled a little off, but it doesn't seem to matter.
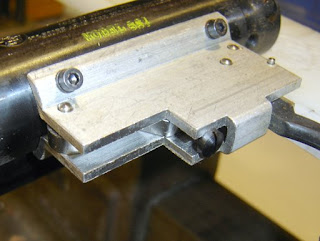
I have no idea what any of the adjusting screws do.
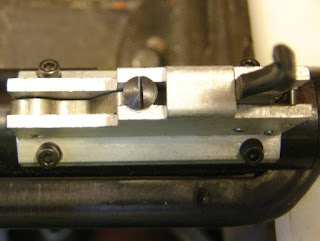
A couple more views.
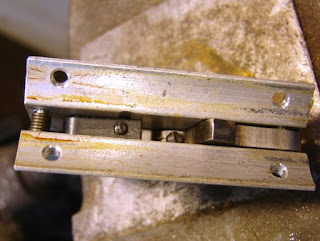
Not a bodged together housing by any means.
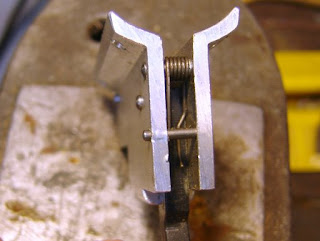
I think the pin started to push out because it wasn't secured in the other side. I fixed that.
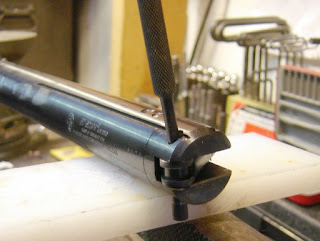
Moving on...The pin for the cocking lever was pressed out.
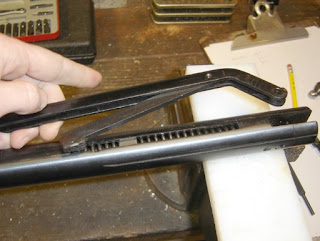
And the cocking lever disengaged from the piston and housing.
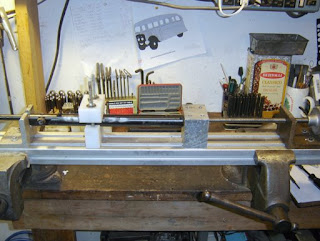
I mounted the remainder in the spring compressor.
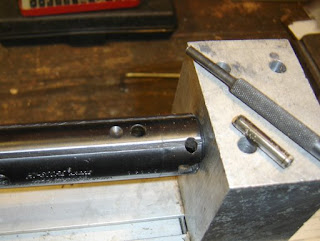
And punched out the end cap retaining pin.
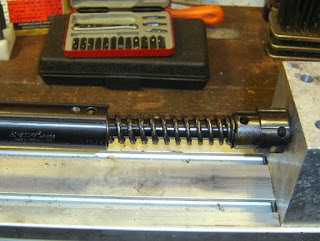
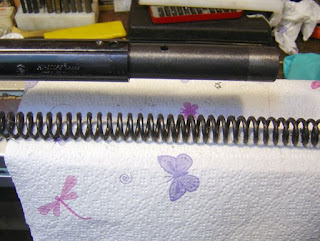
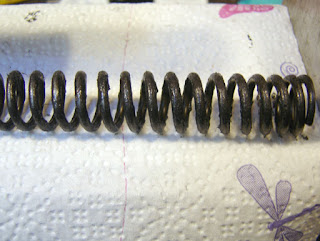
This is how much preload the spring has.
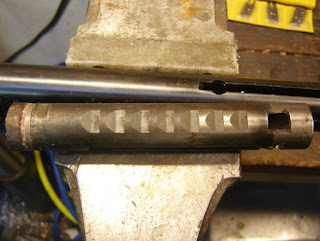
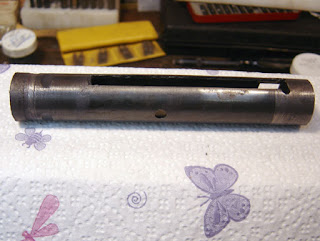
See what I said about the anti beartrap? Those notches are presuambly for the anti beartrap mechanism, but there was nothing to bear against them.

On to part 2
Hy-Score/Hammerli Air Rifle Part 2

Continuing the disassembly...

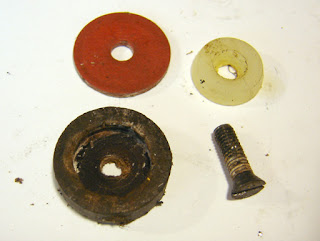
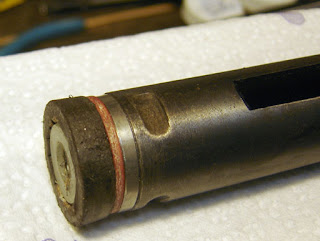
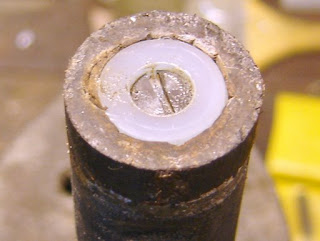
This piston seal is leather, with a nylon washer. The piston had no lube at all.

The seal unit.

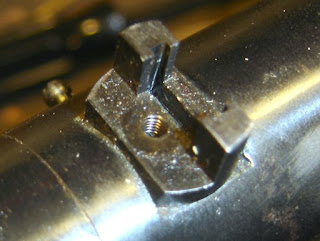
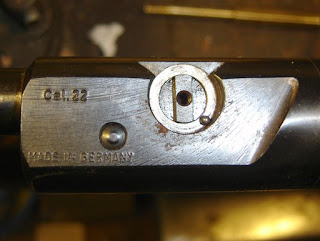
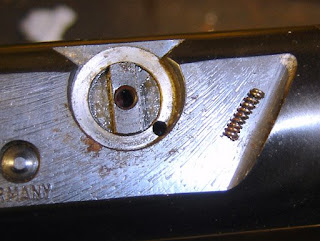
I removed the screw, thinking it retained the rear sight, but it just adjusts for elevation. Since the rifle seemed fine for windage I decided not to drift out the rear sight from the dovetails.

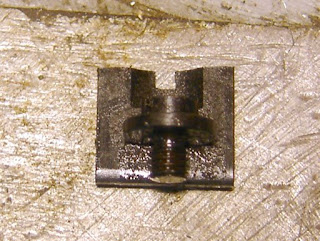
The screw and sight element.

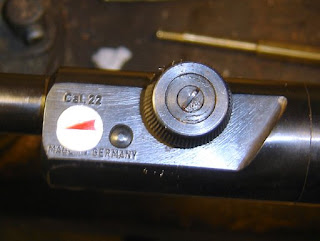
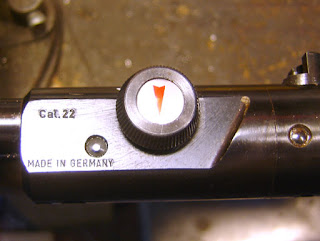
The metal sticker on the loading tap knob was removed carefully. It was glued on. Then the screw was removed, and the knob taken off.

Tiny ball...there's always one.

And a tiny spring...I didn't lose either one.

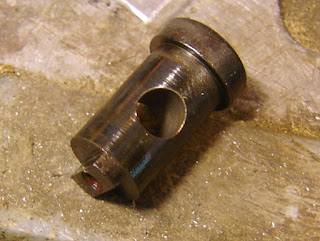
The loading tap. There is no seal or provision for a seal, which might account for the rather low velocity.

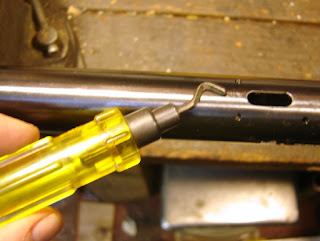
I used this deburring tool, and some files, to remove some of the burrs in the slots. That slot may be for the anti-beartrap mechanism, as nothing was there, but there are tapped holes...curious.

I soaked the seal in silicone oil overnight and reassembled.

I sparingly lubed the piston with moly.

The piston was pushed back in.

Again, a sparing amount of Maccari heavy tar on the spring.

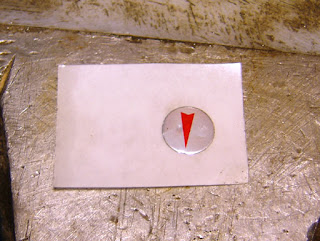
I used some double sided tape on the loading port label. Cut out to a circle and pressed on.

Taped back on.

So the gun was lubed all over (no need to show pics of dabs of grease). I didn't really see any change in performance.

Before the tune, I got 481 on average with Crosman .22 wadcutters (14.3 grain), afterwards I averaged 470 or so. So slightly slower, but not significantly so. Probably due to the drag of the lube, although I need to check and see if I'm getting any blowby in the loading port. The numbers seem pretty slow, possibly the spring is tired as well. Only after I reassembled it did I wonder if the tap bore was tapered...I need to check that. Performance aside it is much smoother to shoot and cock now that everything is lubed, which is good. I hope someone will definitively identify the model of the gun and let me know how fast it's supposed to be shooting.

Thursday, June 5, 2008

Thursday Pointless Ramble

I'm a bit snowed under with work right now, but will have a post up about disassembling and lubing the Hy Score/Hammerli/Puma rifle tomorrow or Saturday, after I edit all the pictures. So you get a pointless ramble today.

I found this great archived article from the New York Times about a Brooklyn air cane assassination in 1867. The formatting is screwed up so you have to scroll down to the bottom to read the first part.

James Lileks, one of my favorite bloggers, put up a bunch of old Daisy ads on his ephemera gallery site.

Here's a new site about the MacGlashan BB Machinegun.

I "won" this beater of a Lucznik air rifle on gunbroker, just so I'll have something to play with.

Just ignore the sentences below, unless you are a sadist...

As always, the revenue from this blog is microscopic, so I'll just keep begging (or rather "blegging") for donations of beater airguns to work on, pellets (I could really use some .22's), airgun books, etc. Not that it's paid off yet...
I could also use some serious sponsorship, if anyone has any ideas of how to get some true airgun specific advertising, I'm all ears! The google ads are largely irrelevant. I'd sell real estate on the top or sidebar for a song...Pyramyd? Midway? Anyone?

Tuesday, June 3, 2008

Ted's Sticky Crosman 1600

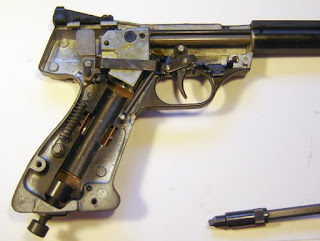
Ted brought me his old Crosman 1600 BB repeater to see if I could make it work. The seals seemed fine, but the action was very sticky. You had to manually push the trigger back and forth. I suspected that a spring was missing or something. As always (or mostly always) the manual and exploded drawing is available on the Crosman site.

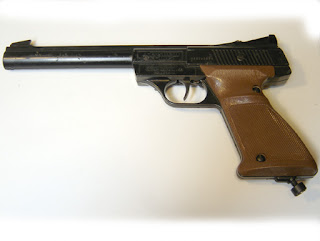
It's a handsome pistol, modelled after the Colt Woodsman.

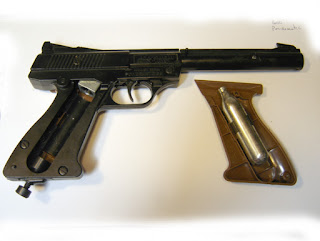
The right grip holds the CO2 cartridge and the screw on the bottom is turned with a coin to clamp the cartridge against the seal, and pierce it.

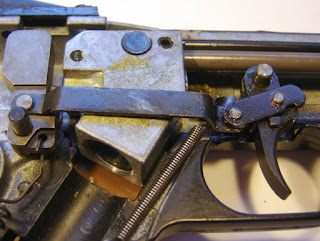
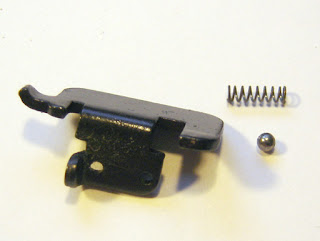
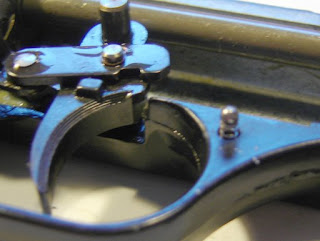
Removing 4 screws gains access to the internals of the pistol. Nothing was missing at all. I took care not to lose the safety spring and ball.

You'll notice the yellowish patches on the grey metal part under the connecting link from hammer to trigger. That's grease that has turned to stickum. All I had to do was squirt some light oil in, and scrape the old grease off as best I could. I didn't tear the pistol down completely because the design is a bit tricky to put back together, I had spent hours getting it right on another one I worked on. Not fun.

The safety parts.

Put a dab of grease on the ball and it won't come off the spring immediately.

The safety in place. Putting the cover back on retains everything.

The pistol works well now and Ted was happy.