Saturday, August 2, 2008

Benjamin 317 Rifle Disassembly, Part 2

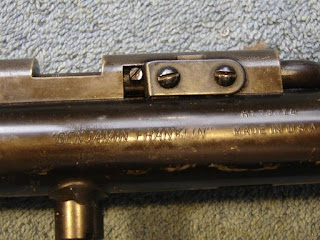
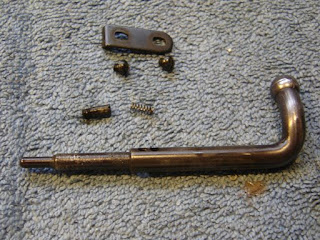
One last part to remove that's easy...

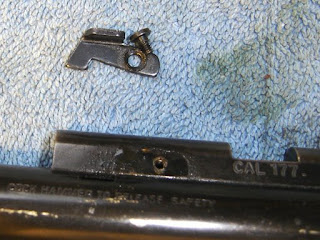
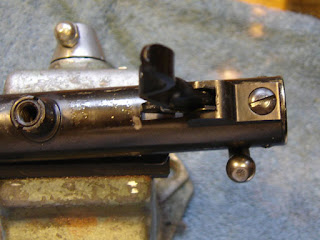
The manual safety catch unscrewed from the receiver.
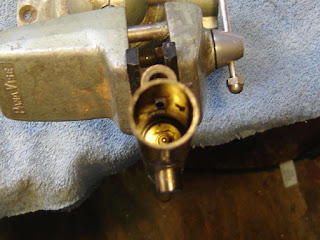
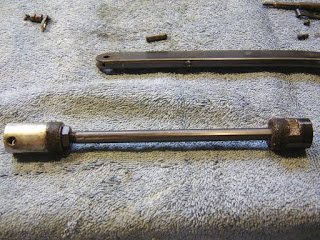
Now to remove the valve for resealing...there's a square hollow retaining nut that comes out first. But the square wrench has to have a hole in it to clear the valve stem.
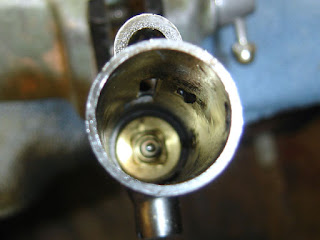
A blurrier pic, somewhat hard to focus down the tube...
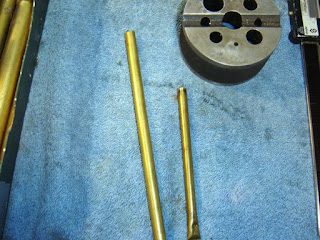
I used my collection of brass tubing to determine what the square and hole dimensions need to be. I'll measure all the parts when I do get the valve out to determine what the correct dimensions are (rather than those that worked here...)
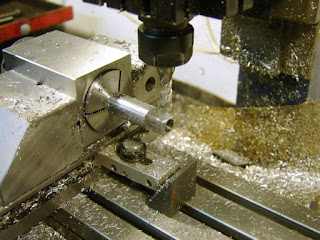
Milling the square after drilling on the lathe.
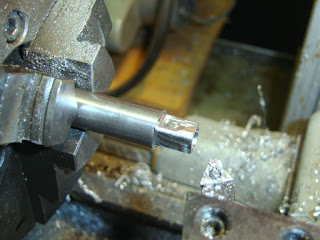
Rounding the corners off to fit the radius of the square.
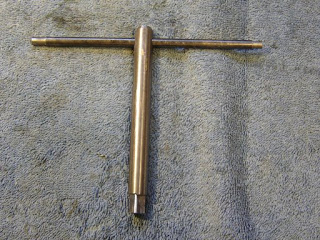
The finished tool.
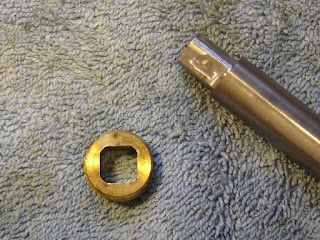
The nut removed.

The next bit is going to be more difficult as I need to make a puller that screws on the valve stem. Searching around the forums, it seems as though it's a 9/32"-32 tpi thread. Neither I nor my tap-happy friend Kent has a tap that size. I don't really want to order one so I think I'll try making one from tool steel. If that fails, then I will have to bite the bullet. It's worth noting that you can just buy a tool from Bryan and Associates ($12.95)and on Gunbroker, etc. I'm just trying to do it all myself, for the experience.
Thursday, July 31, 2008

Benjamin 317 Rifle Disassembly, Part 1

Time to take apart another airgun...

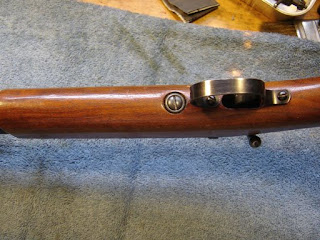
I removed the action from the stock with this captive screw.

Then I unscrewed the trigger assembly.

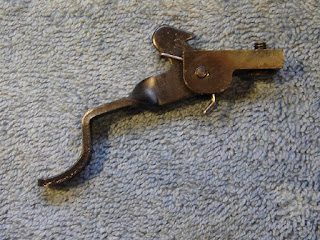
A nice simple trigger unit.

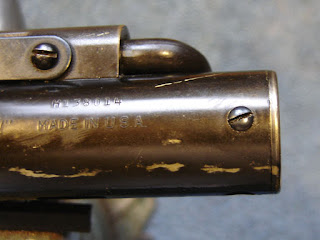
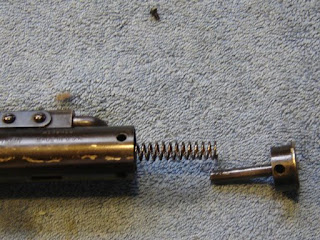
I removed the two end cap screws, the end cap is under tension from the hammer spring, so I had to hold it in while removing the screws...

The end cap is loose.

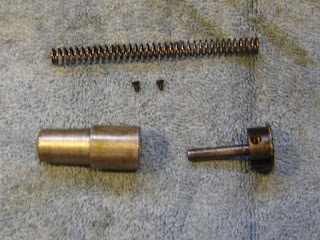
Hammer spring, 2 screws, hammer and end cap.

I removed the bolt cam plate, then removed the screw on the bolt, and slid the whole thing out. As with other Benjamins and Sheridans, there's a tension spring inside the bolt. It flew out as did a small ball bearing that got instantly lost. But I have lots of ball bearings...

Cam plate, screws, bolt screw, spring and bolt.

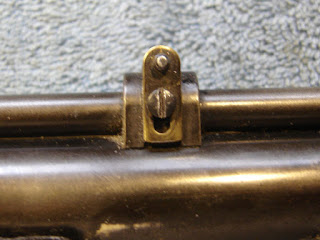
I removed the sight.

Sight and front sight bead.

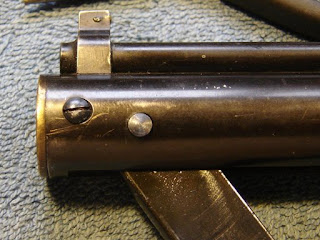
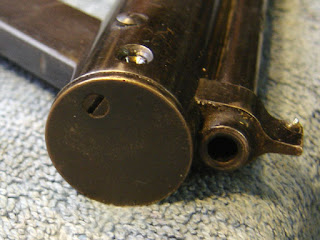
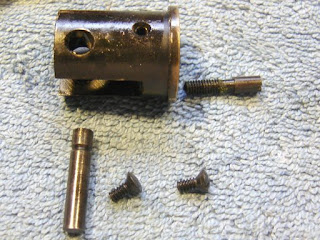
I removed the front cap screws

Then removed the pin locking screw from the front of the cap.

It's a nice way to design a retained pin.

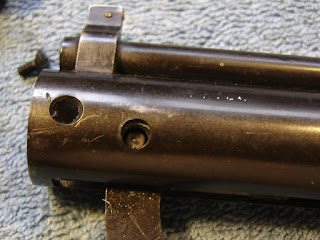
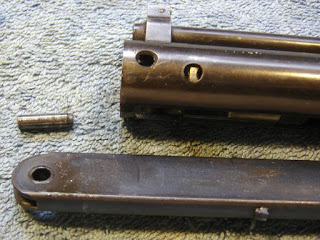
I pushed out the pivot pin.

And removed the pump arm.

Then I slid out the piston. The seal was in surprisingly good shape.

Next comes the hard part...

Monday, July 28, 2008

Fleamarket Find: Morgan Adjustable Recoil Pad for my Original (Diana) 45

Last Sunday we went up to the "Steam Up" in Brooks Oregon. One of the events is a wonderful fleamarket. I had hoped to find some airguns but beyond 2 Daisy BB guns and an overpriced Plainsman pistol I didn't find anything. What I did find though was a slightly abused Morgan Adjustable Recoil Pad, for $3.00!

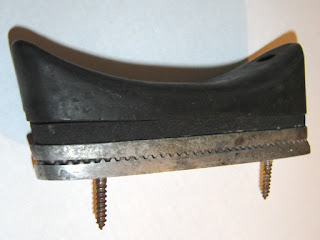
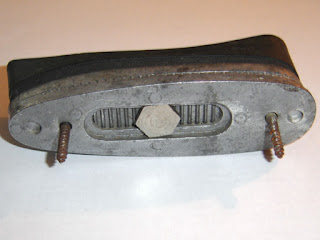
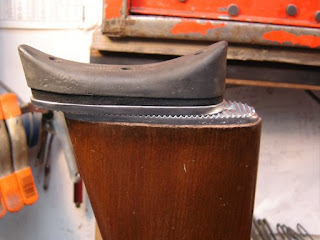
The recoil pad.

Note the similarities to my completed adjustable buttplate for the 1377, you might think I'd had it in mind when I made it...

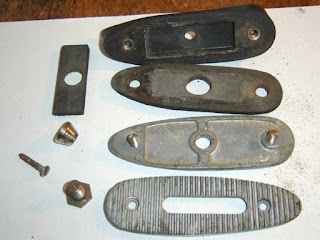
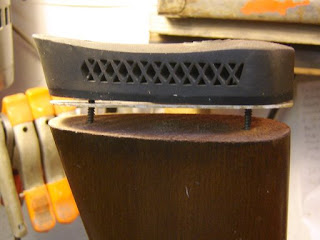
All taken apart for cleaning.

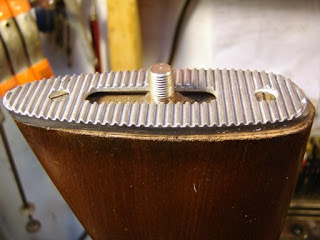
I figured that I shoot the Original (Diana) 45 the most, at least right now, so I took off the old buttpad.

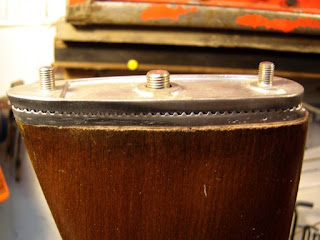
Imagine my surprise! The hole spacing was exactly the same for the mounting screws. A stroke of luck (or gross standardization, I'm not sure if the pad on the 45 was original to the Original...)

Putting the pieces back on.

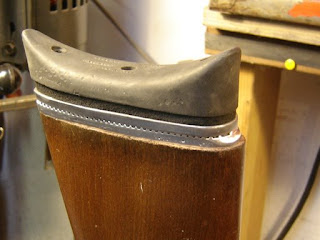
All mounted. The Recoil pad was a bit undersized to the stock, but I'm not entirely sure it will stay on the 45, so I'm not going to reshape the stock.

This is the range of adjustment. Due to my freak anatomy (I'm 6' tall, which is about 1-1/2' taller than the person it seems most airgun designers make the stocks for) It's still not perfect, but at least the butt now touches my shoulder. Not a bad 20 minute project!