Saturday, October 30, 2010

Grips for the Crosman 150 Part 2

Yet another super boring post. Sorry, it's hard to make sanding sexy. With the basic outlines cut and grip screw holes drilled, counterboring for the screw heads was up next.

It's important to do this sooner rather than later. If you contour the grip to shape, then try to recess the screw head, you risk tearing out the wood. By cutting the counterbore first, any tear out will be sanded off during the normal grip shaping. As usual, a forstner bit was employed to cut the flat-bottomed hole.

Test fit. The original CR150 grips are too small for my hands--especially at the heel, so I left some excess wood for fitting.

I'll add another piece of wood in the back as a filler a bit further down the road.

Gonna shoot for some symmetry this time around. Locked both grips together and sanded the bottom of both sides as one piece.

And made the area at the backstrap a uniform curve as well

Worked the heel down a bit to get it closer to final size.

Then went back to the belt sander and started making rooster tails of rosewood.

Used a charcoal dust mask and eye protection. Remember that exotic hardwoods can cause serious allergic respiratory reactions in some people.

The belt sander was great for quickly getting the grip contours roughed out. I just winged this and compared sides as I worked away.

More shaping with a sanding drum.

It's starting to look like a grip.

More to come.
Thursday, October 28, 2010

Still Messing With the Benjamin 3030

I’ve been busy with my visiting family but I did mess around a bit more with the Benjamin 3030.

10281023

There’s about 1/8” of slack between the point where the cartridge is contacted by the piercing pin and the hammer. Thus the valve opens up a lot more than I think is needed.

10281021

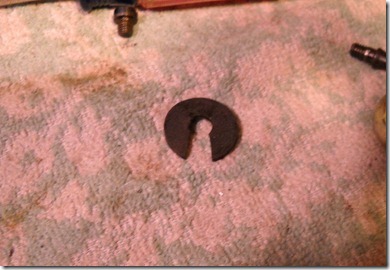
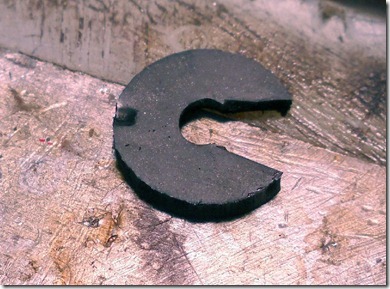
So I made a rubber spacer…

10281022

Installed.

10281024

It still pierced the CO2 cart, but not as much.

10281025

However the spacer slid and got between the hammer and the trigger (you can see the indent).

10281026

There’s a hardened steel insert in the hammer that the trigger engages. I only got a few more shots over the paltry 10 I was getting though so I pronounced it a failure, at least for now.

10281027

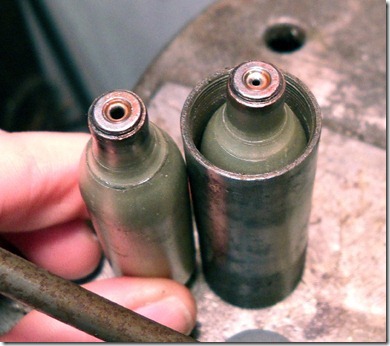
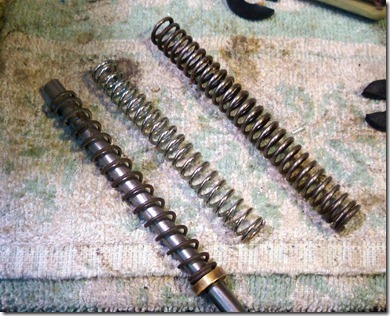
Then I thought about the hammer spring. Right is the “original” but probably not stock hammer spring. Center is the replacement I dug up, and left is an even weaker replacement I found in my big box of springs. I may need to make an even weaker one.

10281028

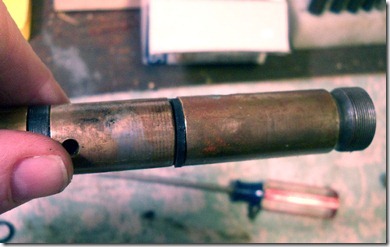
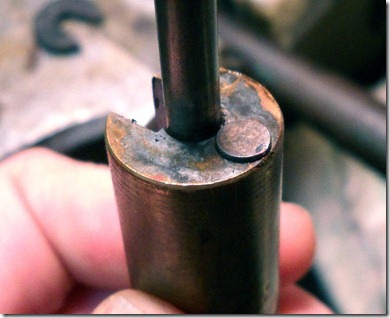
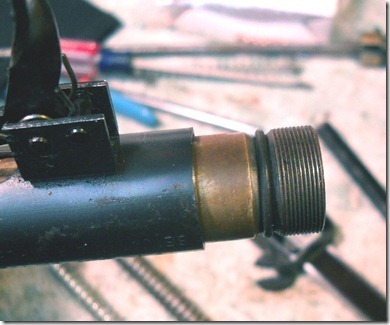
I also added an o-ring to the valve where it contacts the tube. I doubt that’s why there’s a groove there but I noticed that the valve was sliding back and forth a but as the hole in the tube that the screw sits in was larger in diameter than the head of the screw. Obviously the solution is to make a screw with a larger head…

Anyway I managed to get 20 shots with the weaker spring. Which is not a success, but lets me know that I’m on the right track. I think if I keep the valve from moving altogether I may see a slight increase as well. I think the hammer hits the valve, knocks open the seal, but then the entire valve body rebounds and bounces a but, preventing the seal from closing in a timely fashion. Or I could be wrong, which is likely. I also suspect that gas is leaking around the barrel, through the valve body and into the space between the hammer and the valve body, as well as the shot tube – sometimes the bbs bounce out of the loading port, but I don’t know if it’s the rebound or a gas leak.

The goal is the advertised “up to” 30 shots, so if I could just get it up around 25 I’d be happy. I still need to run it across the chronograph but it’s been raining for a week.

Tuesday, October 26, 2010

Grips for the Crosman 150 Part 1.5

Another quick post. This is a follow up to the last post where I cut out the grip panels for a Crosman 150. Before I can start the real shaping, I have to get the grips attached to the frame. First things first, I need a primary reference point. After looking at the gun for a minute, I think the top edges of the grips where they contact the gas tube will work.

Top edge of each grip is sanded flat on the belt.

Put the grip on the frame, pushed that flat edged against the gas tube then pressed it down hard. The small protruding boss of the trigger pivot pin left a slight mark on each side. Drilled a small hole for the boss at each mark then spotted and through drilled for the grip screws. Yeah, I'm glossing over, but I've done a bunch of grip posts and everyone is probably asleep by now.

A couple #6-32 screws and the grips are on.

Has a certain BSA 240 Magnum look to it right now. That'll pass. With the grips on, I traced around the frame then went to a drum sander.

Sanded up to, then just slightly beyond the traced lines.

Only fitting the top of the backstrap and most of the frontstrap for now. Not sure yet how much excess to leave at the heel.

Not quite committed. There's still enough extra wood to provide possibilities.

Already looks better than the original grips.

More soon.