Thursday, March 17, 2011

Walther LG55 Overhaul Part 1

Guy emailed me the other day. No, not just some "guy", a guy named Guy. He'd done some horse-trading and acquired a Walther LG55. It was shooting on the low side of 300 fps and was hoping I could have a look.

I met him at a local gun show and brought it home. The metal work and wood are in exceptional shape for their age. I'm inspired now to do some clean up on my 55's stock.

This is from around 1955? Are you kidding me? It's really a beautiful gun.

A light weight barrel sleeve was present--but no threaded collar at the muzzle. This one is retained by the front sight and a set screw (missing) just in front of the breech block.

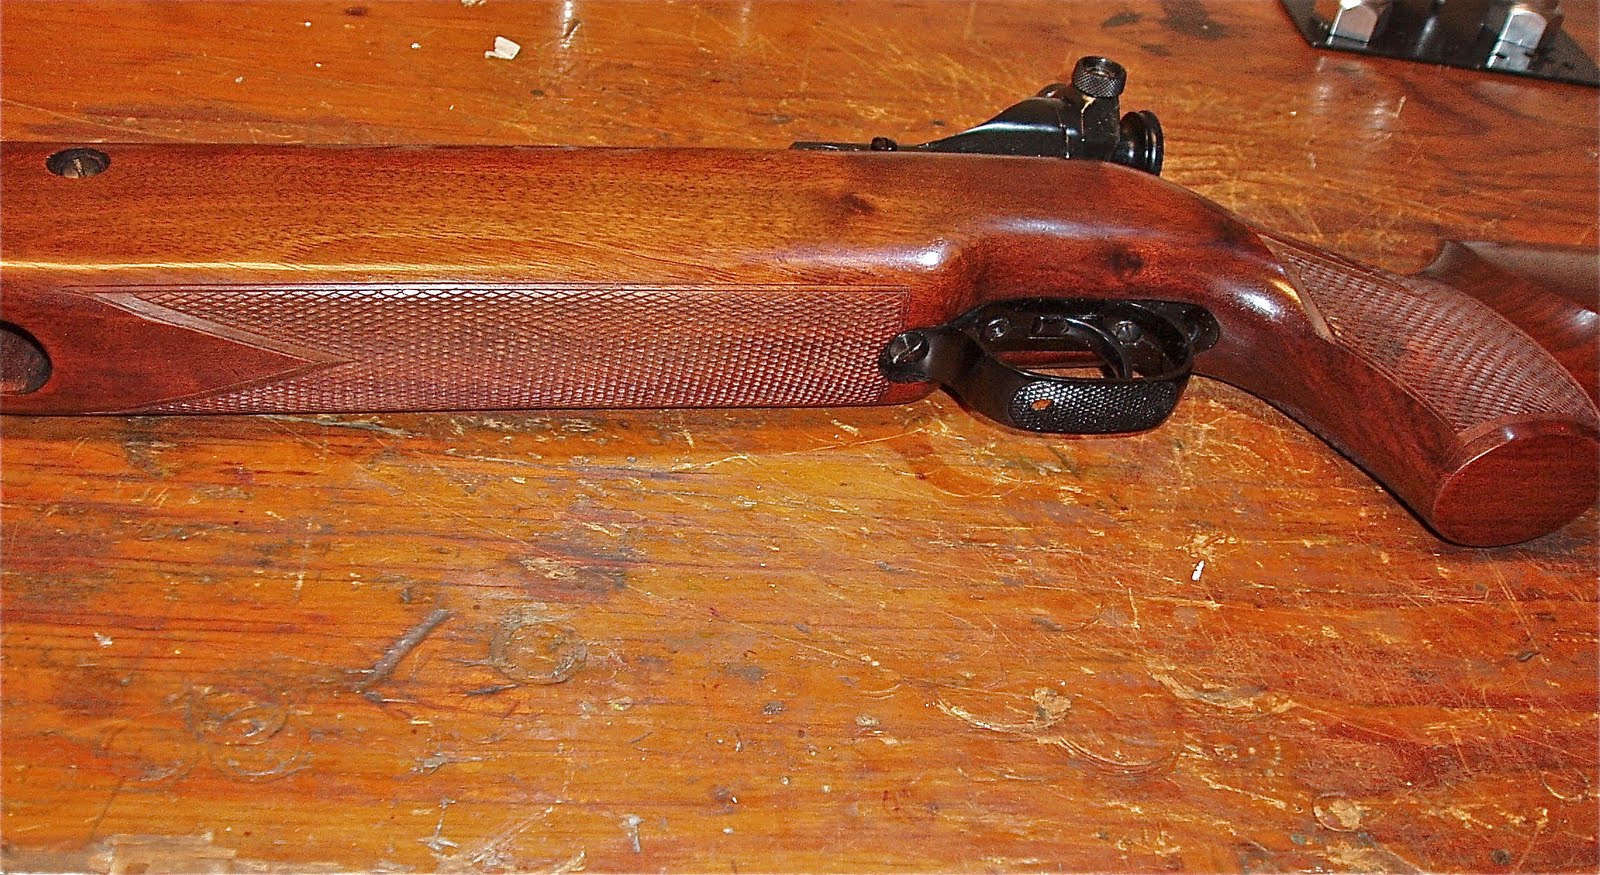
The checkering is still sharp. Feels like it was cut last week.

There's a crack at the front of the left side forend. Can't see it in this pic.


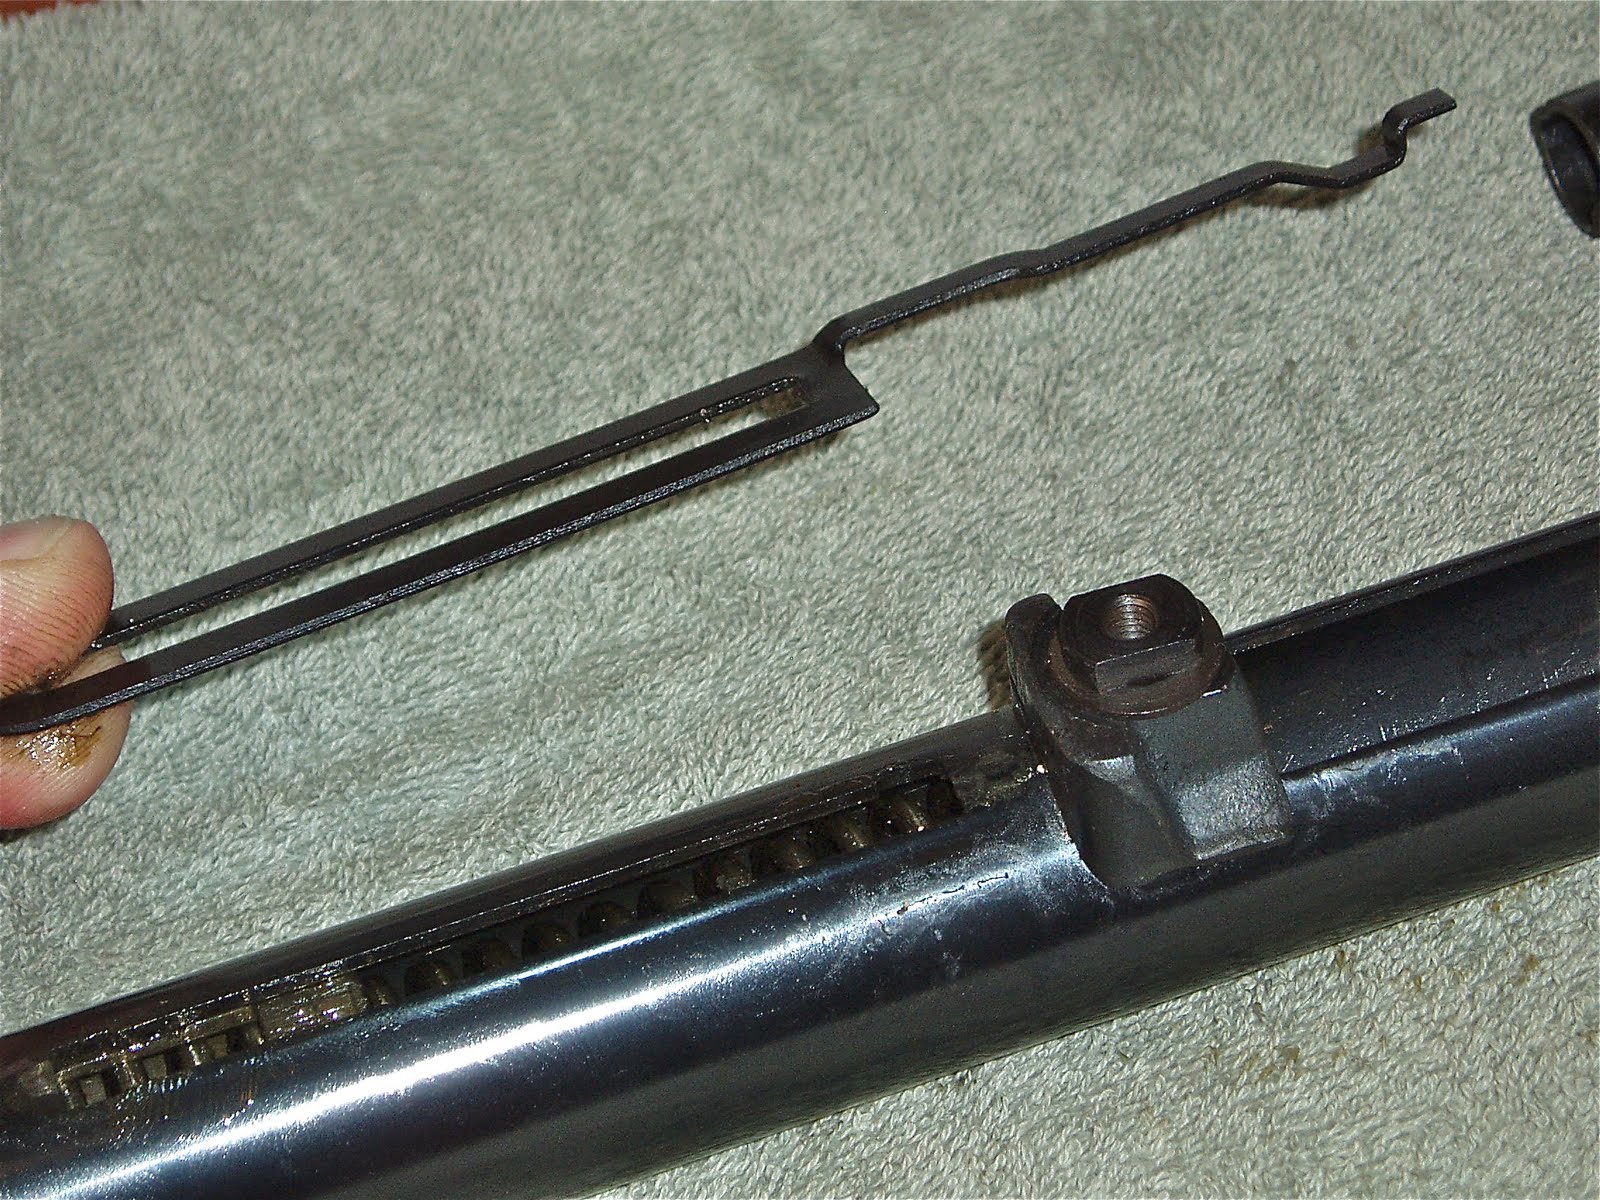
Started by removing the front sight.

And the sleeve slid right off. The set screw threads are damaged in the sleeve. I think they were M6 x 1.0 mm. I'll have to tap it to a slightly larger size.

Removed the diopter sight next.

I looked in my parts box and found a suitable rubber eye cup for the aperture.

Pretty sure this is period correct.


The front trigger guard screw came out next... (There's no need to remove the rear screw--it anchors the trigger guard to the stock.)

Followed by the forend stock screws.

The action lifts out of the stock.


Unscrewed the knurled end cap. There's a spacer underneath that puts pressure on the trigger assembly and hold it in location.

Looked at the anti-beartrap...

and lifted the cocking lever out of the piston. There's no cocking shoe on this gun.

With the cocking lever out of the way, the anti-beartrap plate is pivoted to the side...

and removed. Note the correct orientation.

Put the action in the medieval spring compressor. Needed a dowel to reach into the compression tube to bear against the guide.

A 9mm wrench unscrews the retaining bolt.

The block. It has a slot in the side for the anti-beartrap plate to pass through.

So, the retaining bolt threads into the spring guide. Interesting.

At least I thought it was interesting just how short the guide is. Most spring guns today have a guide three times as long.

More to come.

Tuesday, March 15, 2011

Overhauling a Crosman 160 Part 3 Final

I left the gas tube pressurized for almost 24 hours before beginning the reassembly. Seemed to make sense as the entire gun has to come apart to get the valve out.

Since I was doing some refinish to the trigger guard, thought I'd touch up the bluing on the gas tube. There was a small area that was thin and a bit plum. Here, I've buffed it a bit with some 0000 steel wool to remove the rust.

A closer look. I picked up a "new to me" bluing compound on Sunday at a gun show. The guy selling it was doing a demo that looked too good to be true but was too up close and personal to be faked. He got my attention and I bought 3 bottles.

Here's the result after just a couple minutes brushing the liquid on with a toothbrush. (I didn't use my wife's) Can't find the area I repaired and I know where to look. I think I have a new favorite cold blue. It's called Van's. Wiped the tube with an oiled rag and amazingly, there was almost zero bluing transferred to the cloth. Experience has sadly shown that most cold blues will partially (some almost completely) be removed just by oiling--and if you don't oil them, they rust. Heck, some still rust if you do oil them. I'm bluing a beat to all get out barrel right now with Van's. I'll put up a post in a couple days of before and after pics--regardless of the outcome.

Still don't want to depressurize the tube for reassembly, so I slid the barrel band on from the rear of the gas tube.


Almost forgot about the bolt o-ring. The original is smashed.

Removed it. It's too far gone to even attempt to measure it for size.

Tried a couple different ones. Used the breech for sizing. Install an o-ring, push the bolt into the breech and eyeball the side hole (for the bolt handle) in the bolt handle slot. When you feel the o-ring compress and it looks like the bolt will be in the closed position, you've got a winner. I believe I settled on a #007.

Scrounged up a new transfer port seal from my parts bin.

This is a current Crosman part. It's part #130-036.

The seal fits around the small protruding boss. I got ahead of myself here and slid the bolt assembly into location.

This proved to be a mistake and I had to remove it. The problem was the pressurized gas tube. The gas pressure had pushed the entire valve rearward until the valve anchor bolt was at the rear of it's through hole. This, in turn, pushed the small tube connector plug backward making it impossible to install the locator stud as the threaded hole didn't align. I had to depressurize the tube, remove the bulk fill cap, unscrew the valve face and tap everything forward about a hundredth of an inch.

I installed the locator stud THEN retightened the valve face and repressurized. Next time, I'll install the locator stud before I pressure test. I would have installed it sooner (to aid in retaining the valve assembly) had I tested with more than a couple grams of CO2. Ahhhh, the learning curve continues. Oh, I installed two 1/4"-28 nuts on the bottom thread of the stud, tightened them together, then used that to tighten the stud into the plug.

The rest of the assembly was straightforward. Hammer assembly got a thin coat of grease and went right in, the breech was screwed down (above pic)...

Bolt was greased and installed--keep in mind that the through hole for the CO2 has to face downward when the bolt is cammed closed.

Gave the barrel shank a coat of anti-seize before pressing it into the breech.

Barrel secured with the set screw.

Attached the trigger unit and rear breech and gas tube caps then fine tuned the trigger settings. Dropped the action into the stock, reinstalled the safety lever and called it a day.

There's a QB77 sitting here that could stand some slicking up of the cocking action. It's pretty high on the list since it's a duplicate of this gun and should be an easy fix.

But before that happens, there's a 50+ year old Walther LG55 on deck next. Check back soon.