Got back to the Belgian tonight.

At first, I thought these were small nails someone tried to shoot that had fallen through the transfer port and embedded in the leather.

Then I realized they were pins that held the center leather washer to the cup seal.

Straightened them out, realigned with the holes in the leather washer and reinstalled.

Gave the leather a very liberal coat of silicone oil.

Deburred the cocking lever slot. Polished anything and everything important. ie: sear contact, center of trigger pivot pin, rear of piston...

Some moly on the trigger and the pin. Reassembled the end cap.

Replaced the bent trigger spring with something a bit lighter.

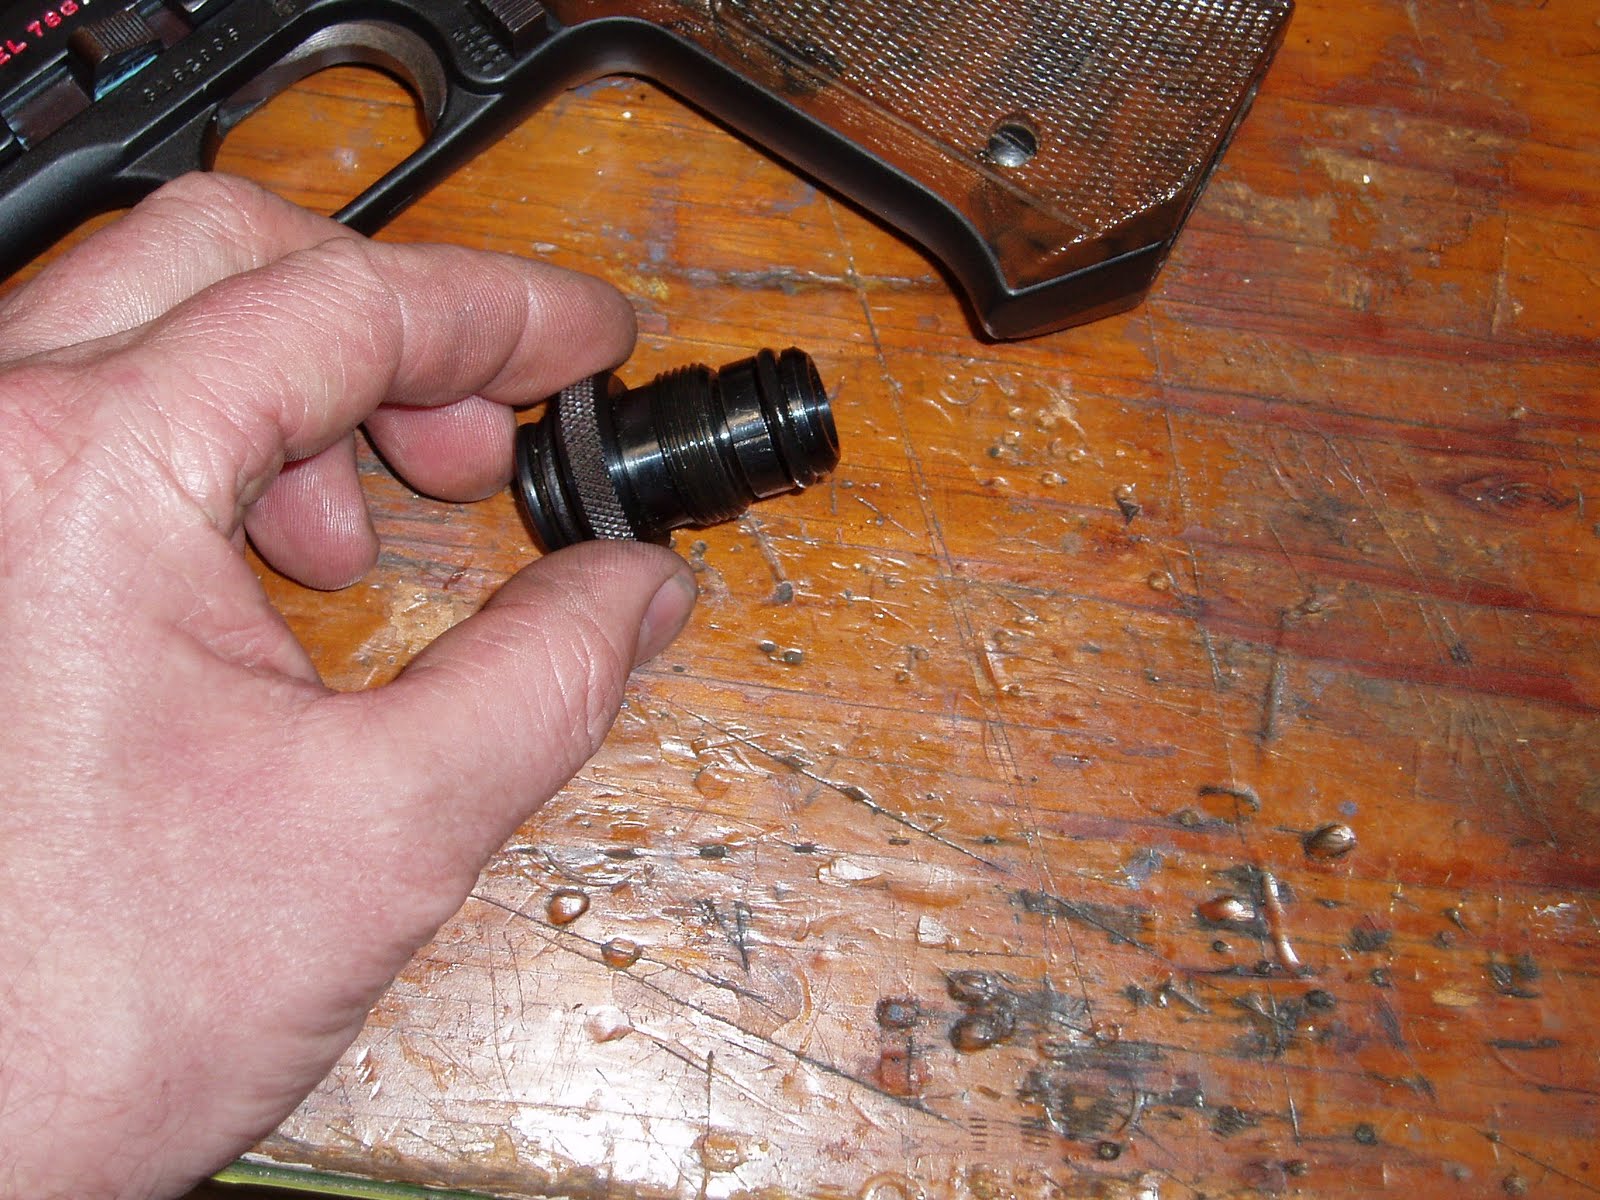
Rebuilt the plunger in the breech block then took a look at the smashed fiber seal.

The breech seal looks completely flat. I dug it out with a dental pick. Came out in a few hundred pieces. The groove looked like it would work well with a small o-ring.

Went through the various kits and came up empty. Found some that were close, but a hair large. Cut some sections out until I got a good fit in the groove.

Super glued the ends together and pressed into place. The curved metal bar above the breech is a built-in pellet seating gizmo. I'm holding it away from the breech for the picture. It's spring loaded to center on the breech when the barrel is cocked. A pellet is inserted like normal then the center of the "U" is pushed in. The pointed end shoves the pellet into the rifling to the same depth each time.

When the barrel is closed, the pellet seater flips up and sits on top of the breech block neatly folded out of the way.

Found a spring--probably a spare from an IZH-61. The ID and OD look good. Might be a bit too long.

As usual for low-powered guns, I like to use Buzzy's Slick Honey.

Reassembled in reverse of part 1. Cheated and didn't use the spring compressor. The spring tension was so light, it was easy enough to compress the spring and get a transfer punch through the pin hole then seat the pin afterward. The mainspring was exactly the correct length. Don't think it could've been 1/8" longer.


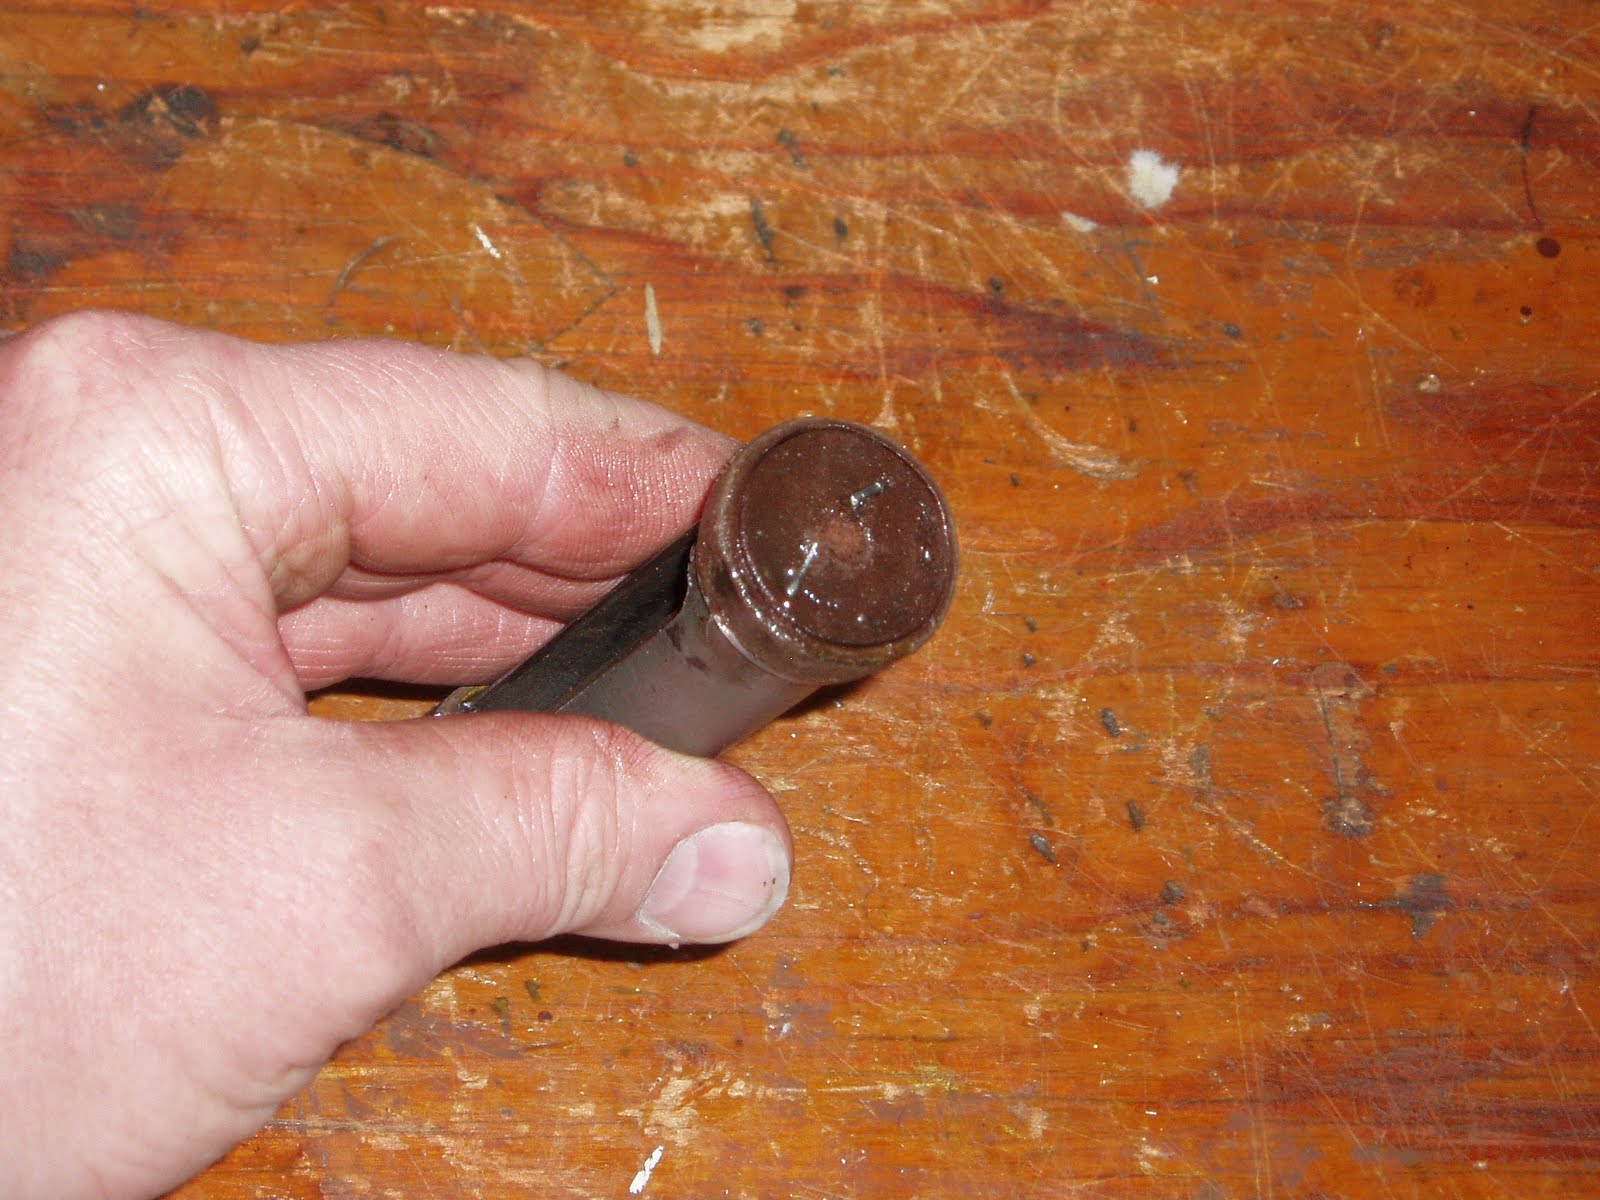
A better shot of the tapered barrel mentioned in Part 1.


You can see the pointed end of the pellet seater.

The trigger pull lost almost 2 full pounds of pull with the polishing and moly grease. The gun shoots even smoother than before--if that's even possible. Velocity, however, is only slightly higher. The gun is averaging 394 fps. About 60 fps faster than before, but still on the low side. If anyone reading this has a .22 cal Belgian, please let me know if I'm in the ballpark.
As the IZH-60/61 aren't powerhouses in .177 cal, I obviously didn't expect to see anything spectacular happen by using the spare mainspring. I suppose I could source a different spring and make a new guide. There's probably 50 to 75 more fps by going that route, but I'm having a hard time finding the motivation to hot rod the gun all the way up to, what? Well-under 500 fps? It's beautiful for what it is--so, I think I'll leave it at that.