Wednesday, October 19, 2011

FWB Sight Cover Plates

Neglected to show one of the final things I made for Frank B's 124 before sending it back.  Just a simple rear sight cover plate to cover the breech block and fill the screw holes.

Since Frank has more than one scoped FWB, he needs another.  Turns out Nick also needs one--and  I'd like to replace the plastic FWB factory cover plate on my gun, too.


Cut three pieces of 0.500" wide steel strip.  Filed them to about 89.7mm long.


Apologies for the switch from inches to metric, but the sight holes on the FWB 124 are 63mm apart CTC so it made more sense to keep all the measurements in the same units.   Holes were marked starting at the rear and working forward.  The rearmost hole is 17mm from the rear of the plate.


Spotted and drilled.


This is where I screwed up.  I  didn't have enough M3 mounting screws, so I ordered some up. I didn't have the screws in hand and I wanted to get the plates finished.  I assumed the head size and angle and countersunk accordingly.  Of course, the screws arrived two days later and they didn't match up.  Fixing the angles didn't go as smoothly as I'd hoped.  Once installed, it's not really noticeable, but I feel like an idiot sending something like this off to my friends. 


Rounded and shaped all the plates by hand on a belt sander.


Took the plates to 400 grit then buffed them out with a gray ScotchBrite.


Some Van's cold blue.


Kept the ugliest one for myself.

I'm trying to figure out my next project.   Check back soon.
Sunday, October 16, 2011

RWS (Diana) Model 45 Disassembly, Part 3

On I go…If you like being bored by too many pictures of a trigger group, read on.

10131129
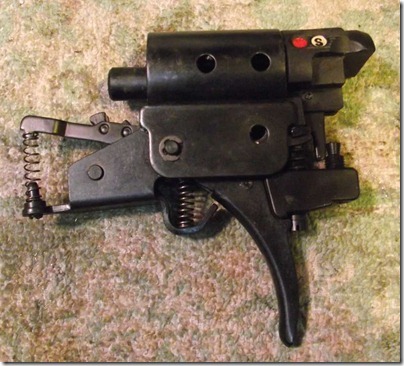
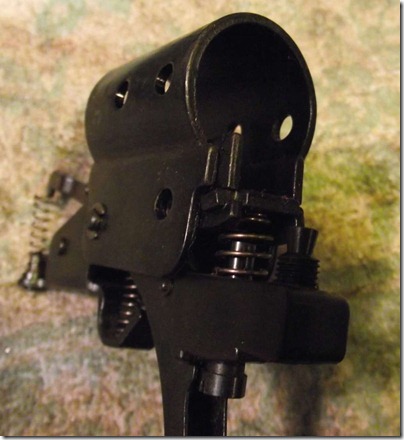
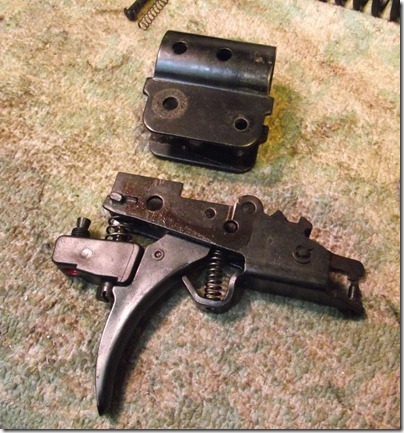
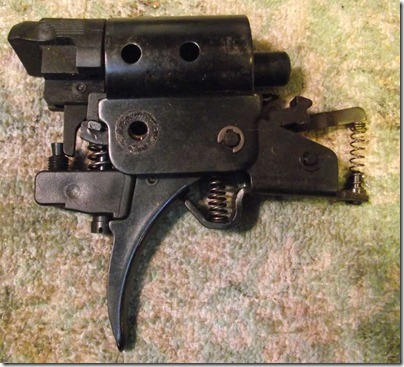
The trigger assembly.

10131130
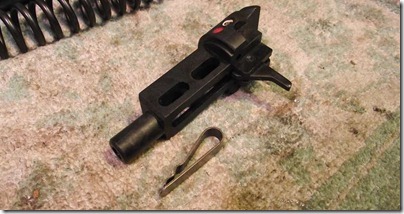
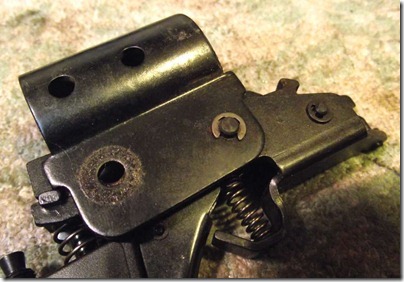
Other side.

10131131
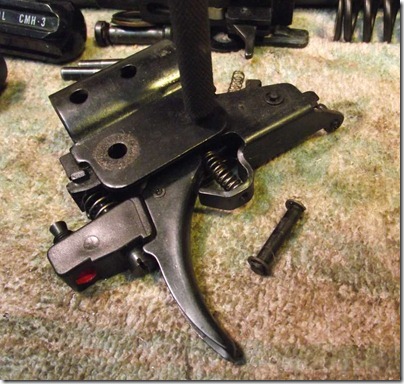
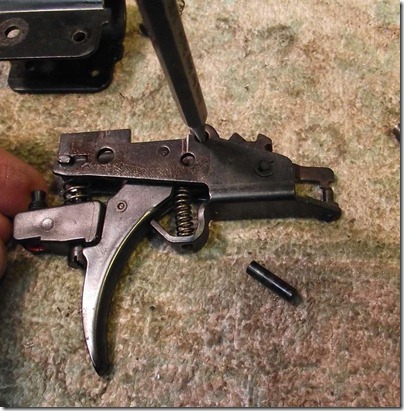
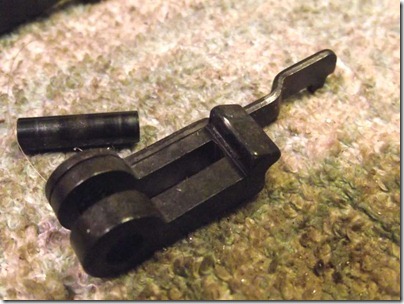
The safety pulls out. It is loose once the two dowel pins that retain the trigger assembly are removed.

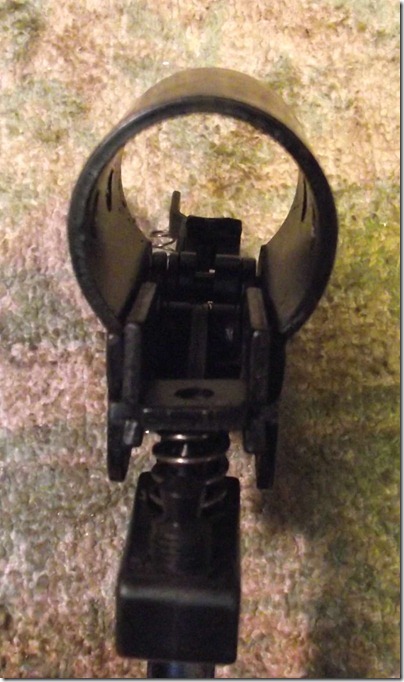
10131132 A blurry look inside.

10131133
Yawn…

10131134
You’ll thank me if you ever have to put one back together.

10131135
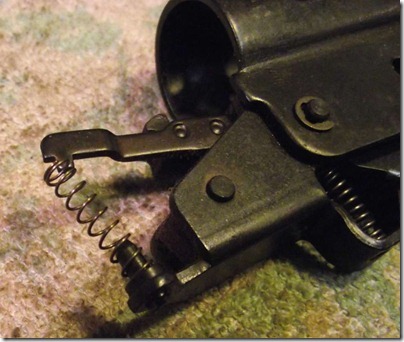
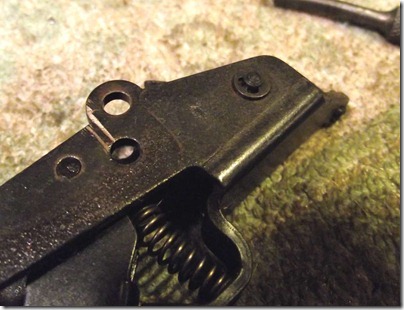
This spring has been wanting to fly away since I took the action out of the stock.

10131136
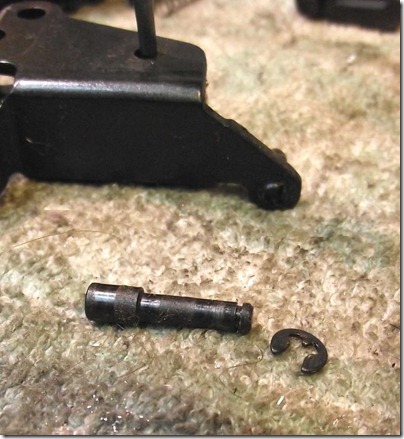
I removed the circlip for the pin.

10131137
And pushed it out. Note that I store the circlip on the pin…

10131138
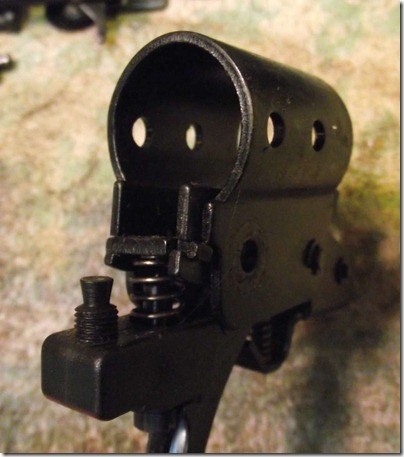
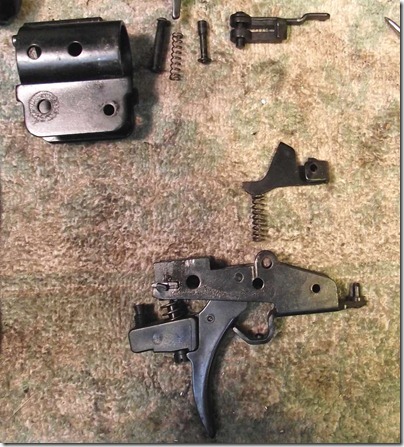
This is what you end up with.

10131139
Another pin..

10131140
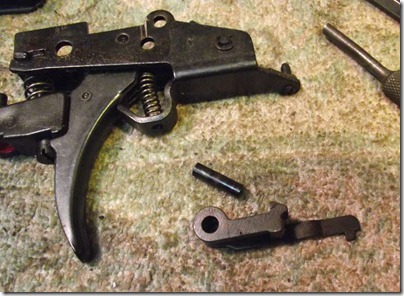
And the sear comes loose.

10131141
Looks to be in pretty good shape .

10131142
Another view. Could use some polishing?

10131143
One last circlip held pin.

10131144
It’s a headed pin.

10131145
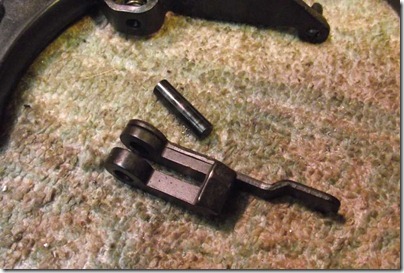
Another piece comes out. Notice the dimple for that spring end.

10131146
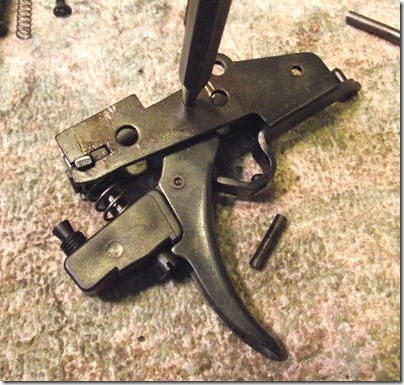
Now the trigger pivot pin.

10131147
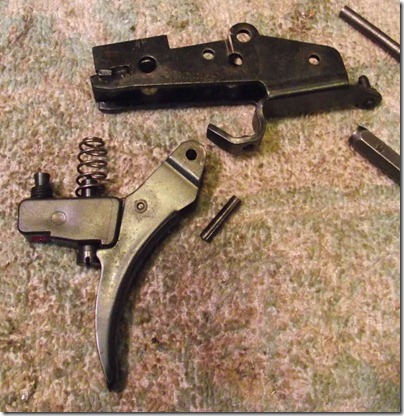
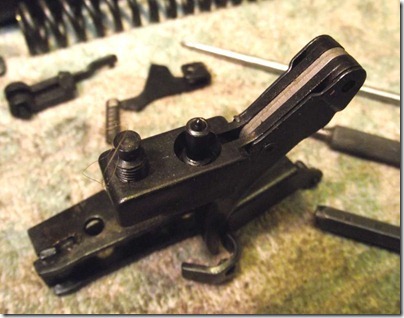
The trigger is laminated steel and plastic.

10131148
It’s hard to tell but the piece the adjustment screws are in is plastic.


So that’s everything taken apart except the piston. I’ll clean everything up and lube as needed. See if it shoots better. The rifle wasn’t that dirty but seems dry – the only lube was some moly inside the piston sleeve.