
With the slot cut for the Marauder magazine, I needed to drill a hole for the tiny #4-48 Crosman breech screw. Want to locate it as far forward in the slot as possible. The head of the #4-48 needs to be recessed in a 3/16" diameter counterbore or the magazine will bind.

A standard length center drill wasn't long enough to reach the bottom of the slot. Found an extended length #2 bit.

A #2 is 3/16" in diameter, so I was able to use the bit itself to gauge clearance to the edge of the magazine slot.

Just using this to spot (start or mark) the hole. Center drills don't have long flutes to channel material up and out. This lack of flutes makes them stiffer, so they don't deflect and wander across the work surface under starting pressure. Gives you an accurate spot to start drilling with a conventional twist drill.

Next up was a #42 clearance drill for that #4-48 breech screw.
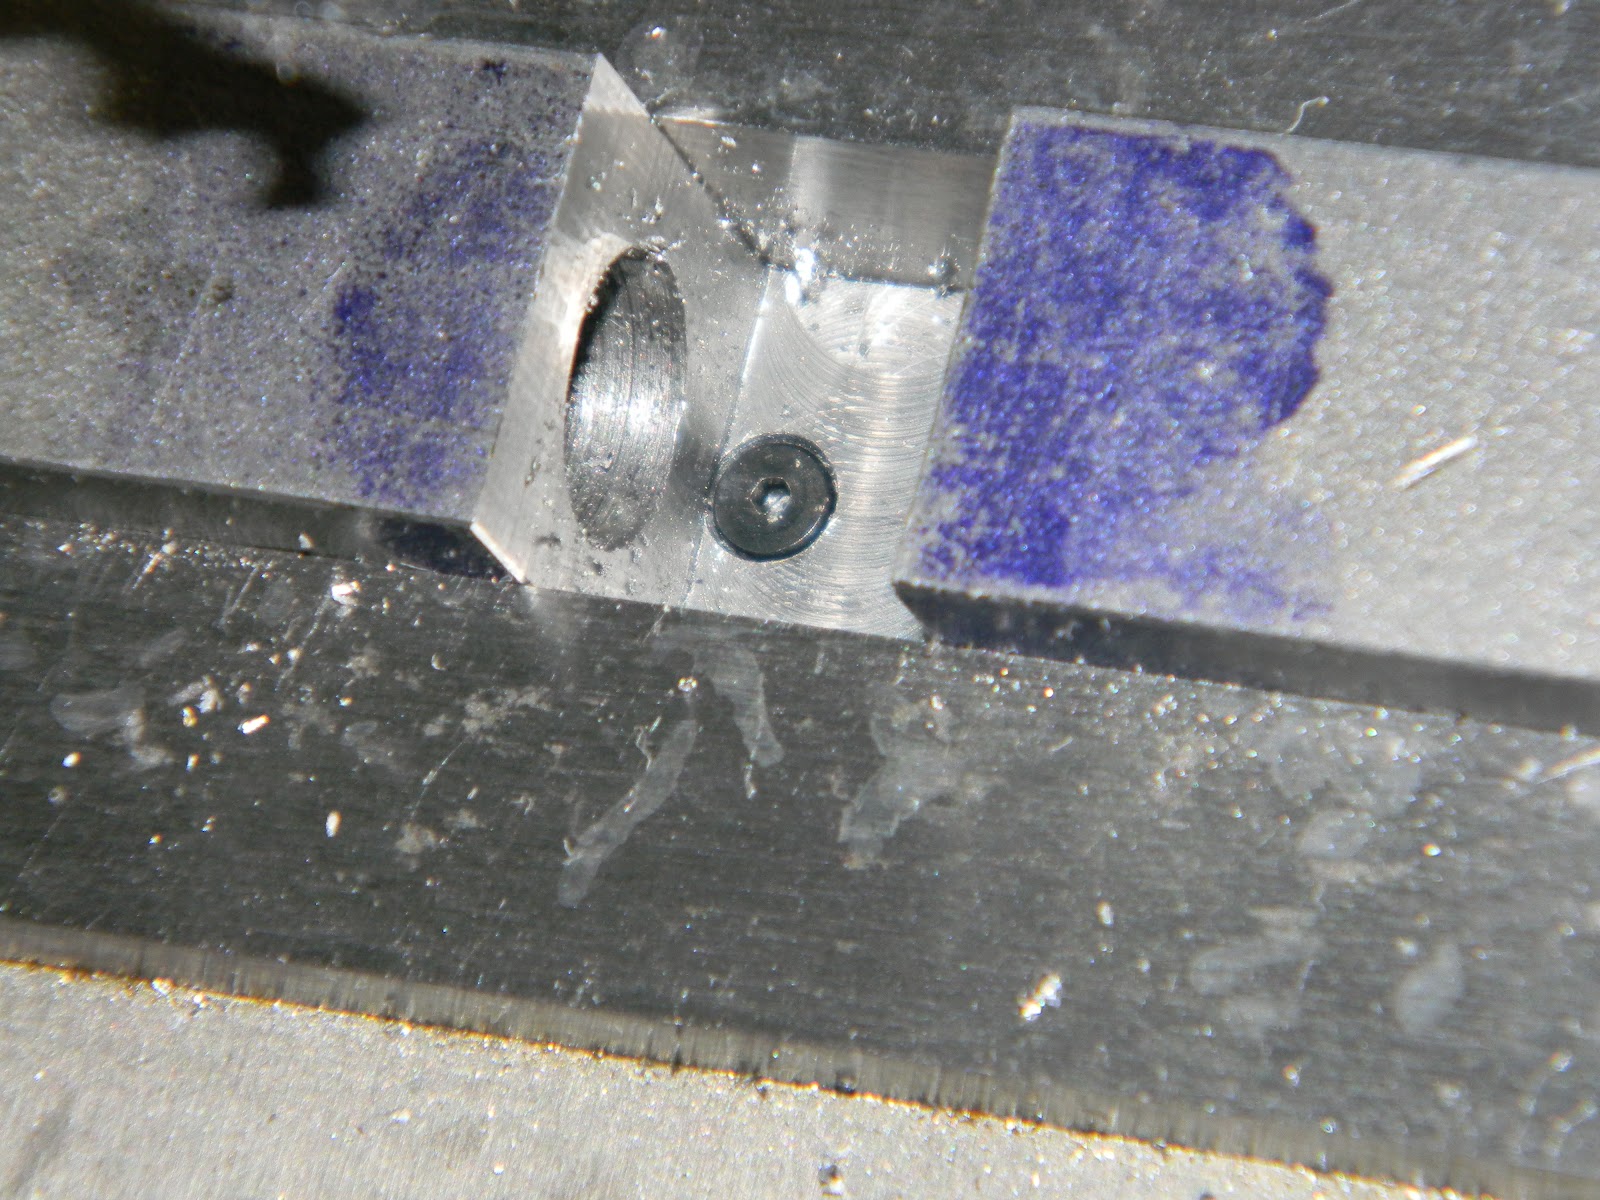
Not shown: Counterbored with a flat bottomed 3/16" bit to recess the head. Here's a test fit. It's right when the head is at or slightly below flush.

With the breech screw hole located, it became the primary reference point for the next several holes. Going to through drill for the alternative breech screw hole that Crosman uses on the more recent gas tubes--though the head will not be counterbored. If I ever need to swap this breech to a newer gas tube, the hole is in the correct place and I'll just need to mill clearance for the head of the fastener.
Also using the first hole as a reference for the transfer port hole and the rear breech screw location. Stacked a few gauge blocks then set the caliper to the exact size to transfer each location. --It's more accurate than just using the caliper scale.


Spotted for the transfer port.

1/4" hole drilled. Not 100% sure yet what the final transfer port will entail, but 1/4" is a nice, standard size to work with if I need a sleeve, piece of tubing, o-rings, etc.

Spotted for the alternative breech screw location.

Drilled a second #42 clearance hole. There's not quite enough room for the head of the fastener without some additional work on the top side. Again, this hole fits the newer Crosman gas tubes with the #4-48 breech screw hidden under the bolt.

And finally, used a #19 bit for clearance for the #8-32 rear breech screw.

Deburred.

Turned the breech over and counterbored for the head of the #8-32 screw. Actually drilled through the top and counter bored in the channel for the loading bolt. Sunk the head of the #8-32 so the loading bolt won't drag.

Typically, the set screw to hold the barrel to the breech is on the top side. There's plenty of metal on this breech to hide them on the bottom. Gonna use two. No specific locations. Picked a couple spots that won't interfere with anything else. Used a #29 (tapping drill size) for #8-32 setscrews to secure the barrel to the breech.

Now, I wish I'd drilled that 5/8" shroud counterbore a bit deeper into the muzzle end of the breech. I was only concerned with recessing the end of the shroud, not securing it at the time. I'm sure not gonna revisit that insane set up just to deepen the hole. Besides, I can also use set screws or even epoxy to secure the shroud to the barrel. A #43 tapping drill size for a single #4-40 set screw. Of course, the #43 bit is too small for the drill chuck to grab, so it first goes into this adapter chuck.

Chuck in a chuck--in a collet.

With the tapping hole drilled, used the set up to guide the small #4-40 tap. Tapped the larger #8-32 threads without a guide.

A 1/8" four flute center-cutting end mill was used to cut the clearance slot for the hammer's cocking pin. The Crosman steel breech I referenced had a slot 0.140" wide. So...

...after cutting the slot through, the y-axis was moved +0.008" then -0.008" from center with a clean up pass of the end mill widening the slot to 0.141".


Next to a Crosman long steel breech for comparison.

Wow, there's still a lot of ground to cover. I think the next steps should entail whatever barrel modification is required to connect the transfer port, making the actual port, then starting the loading bolt.
More in a few days.
